Category: Astrophotography

  • Low profile cable guides for RASA8

    Low profile cable guides for RASA8

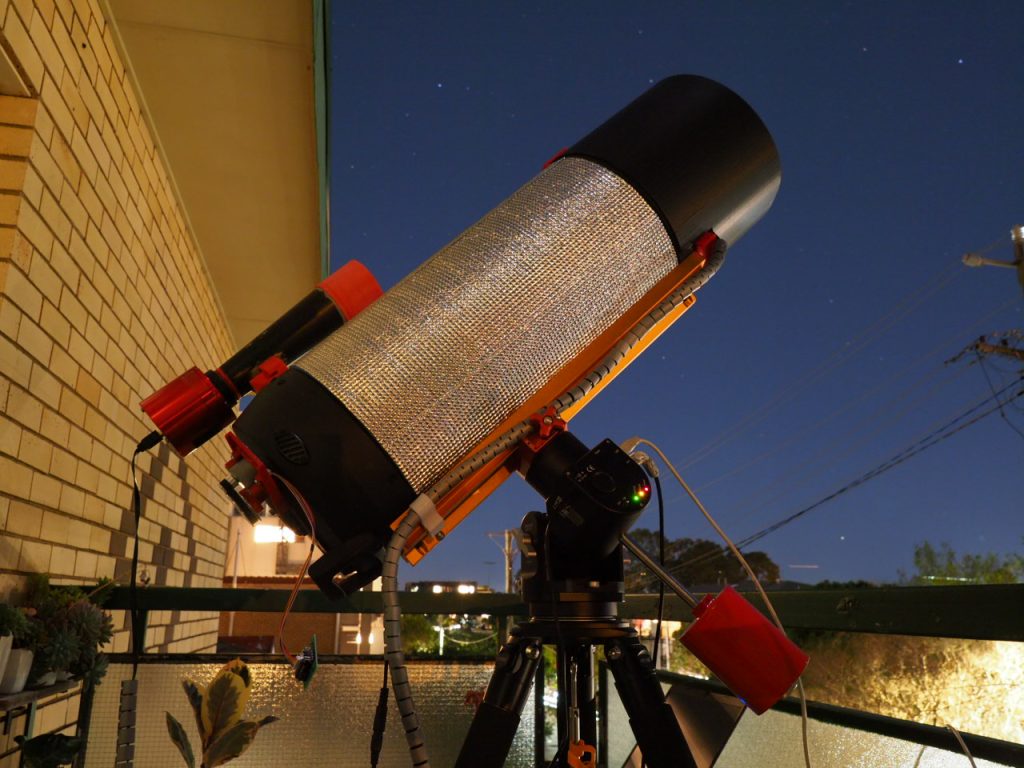
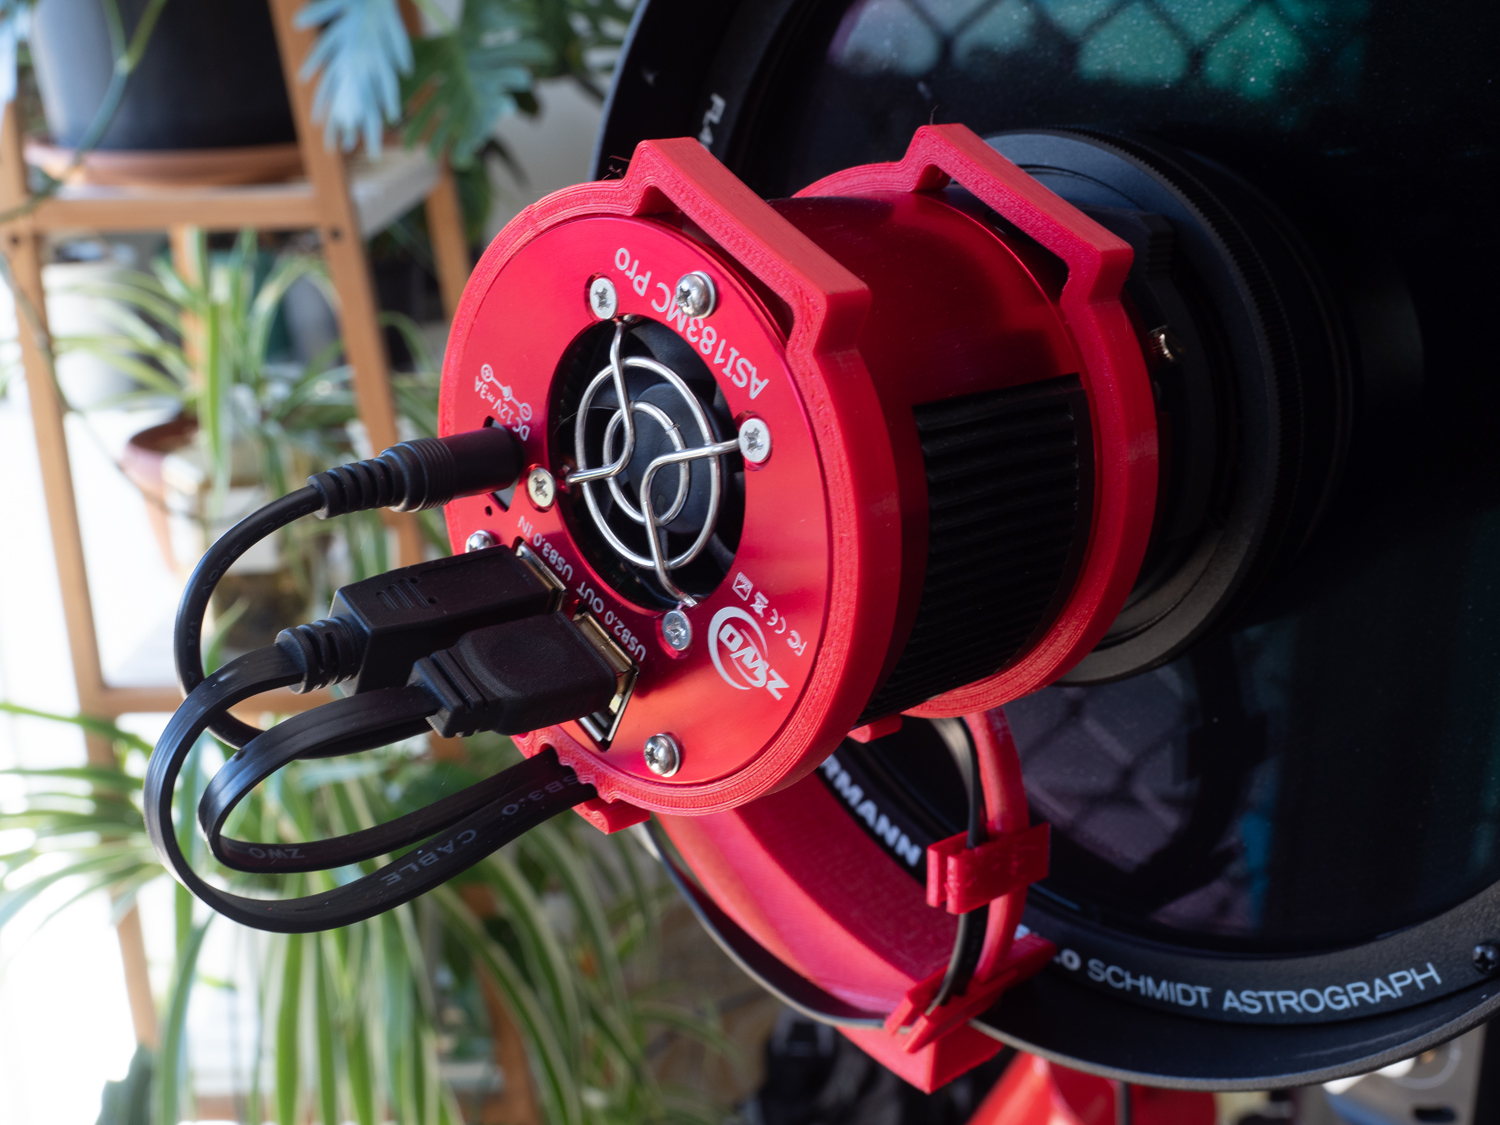
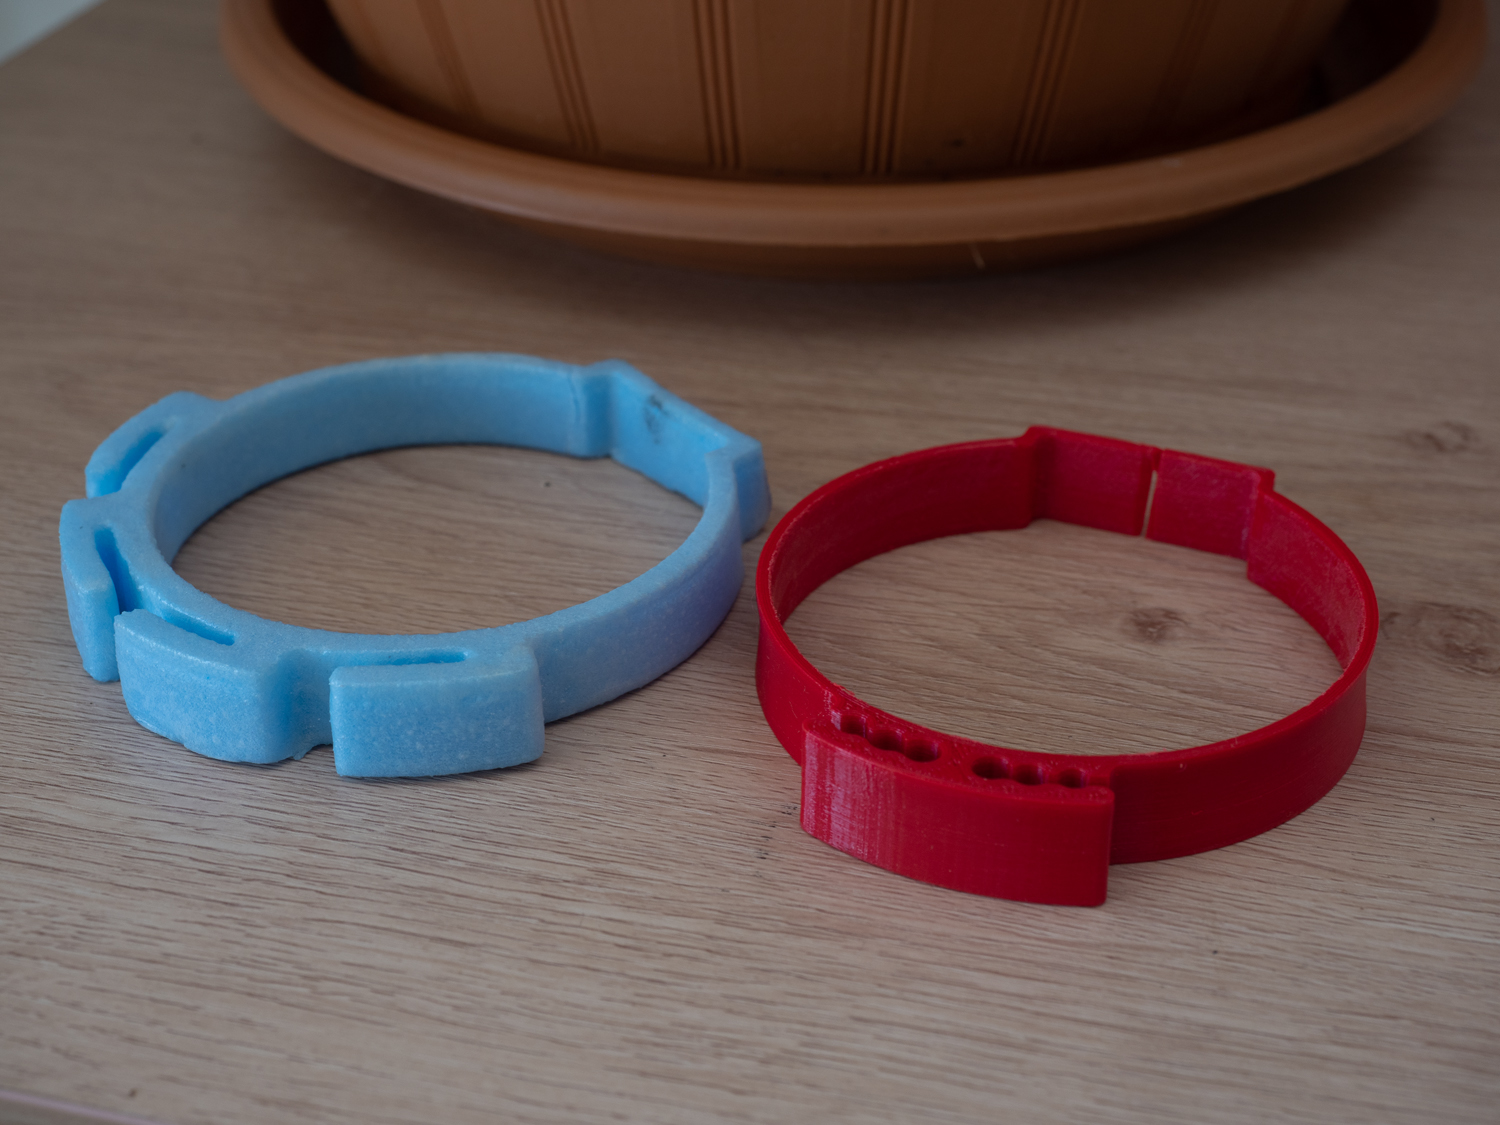
    These 3D printed cable guides are part a “fine tuning” process to improve the performance and handling of the RASA8 telescope.

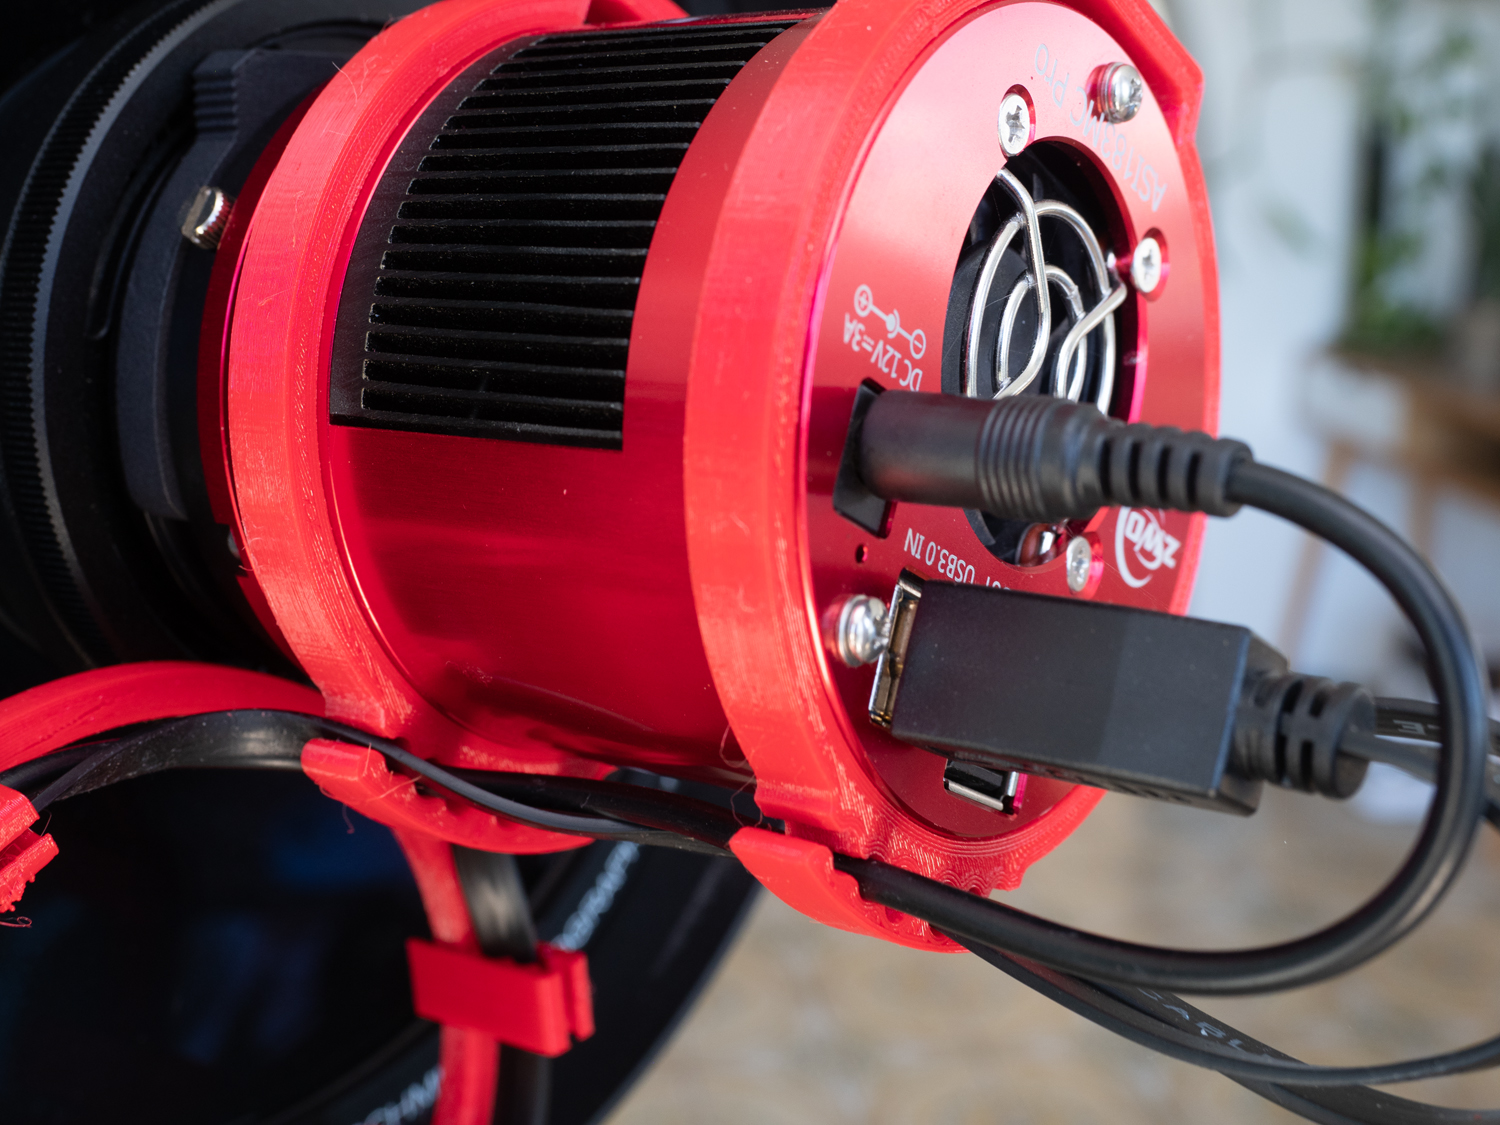
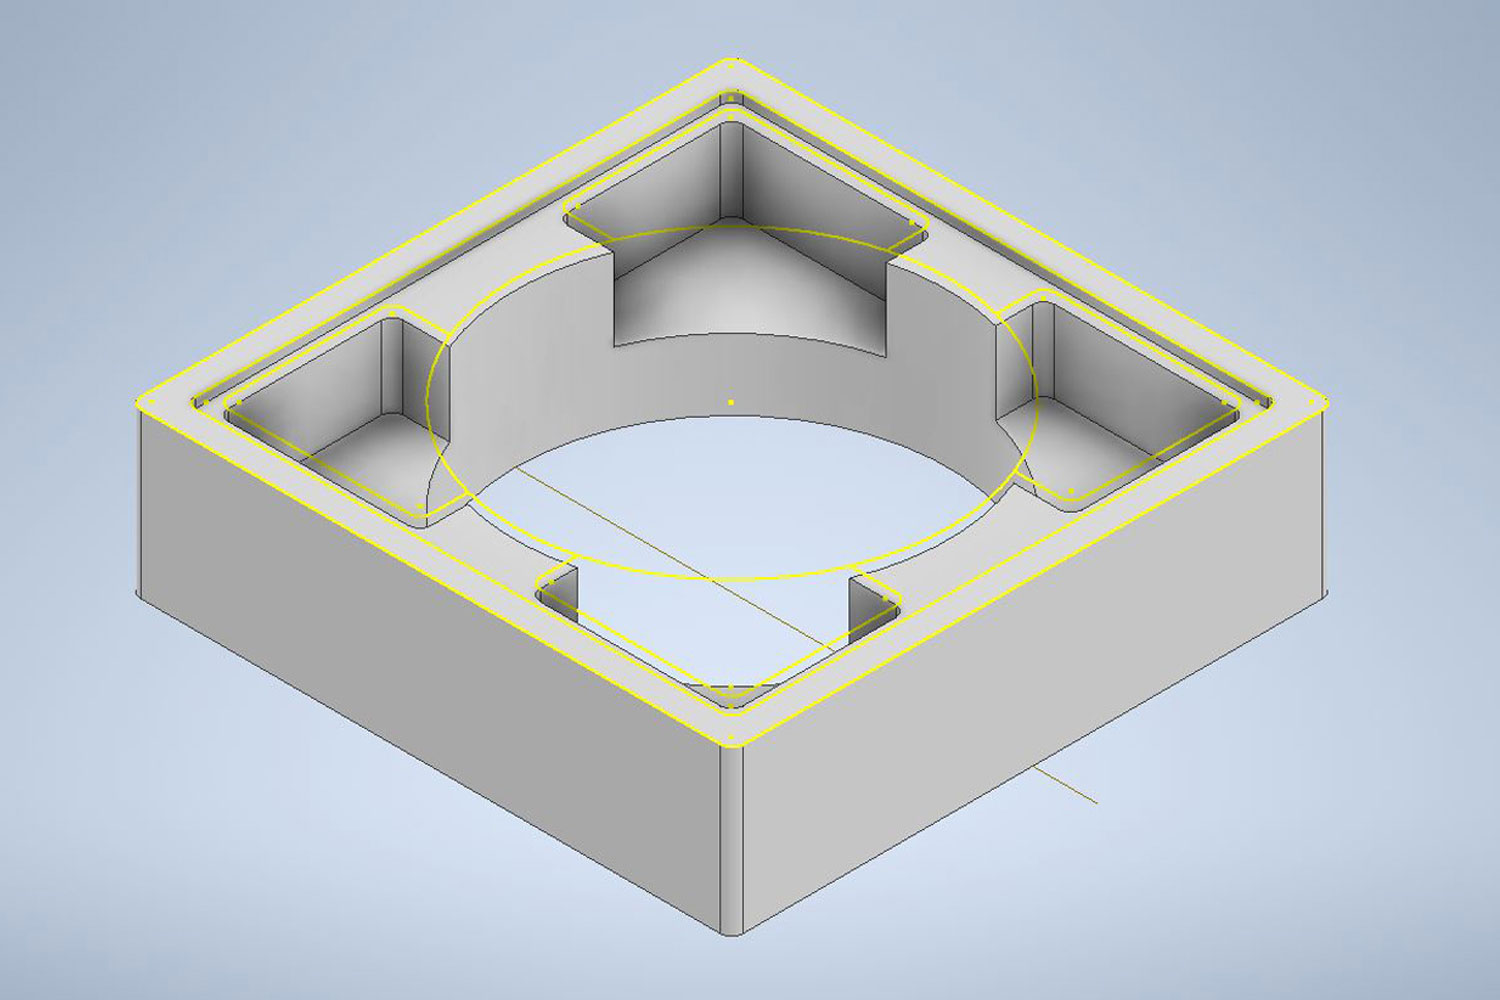
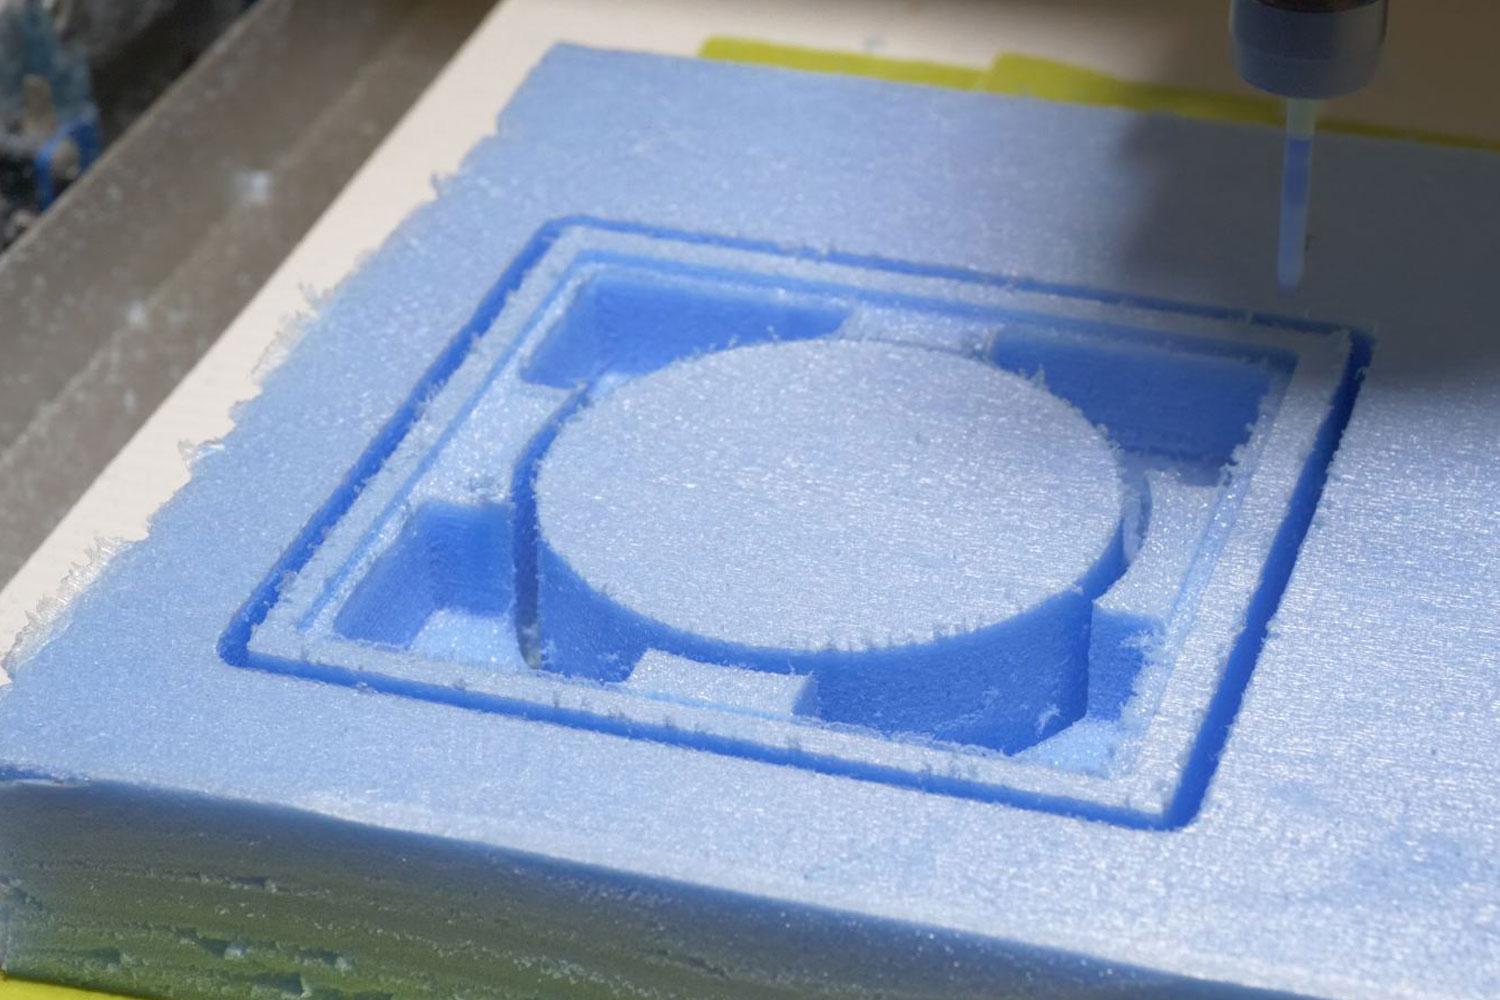
    The blue cable guide on the photo below was machined in foam, the red one 3D printed with PETG on the QIDI MAX.

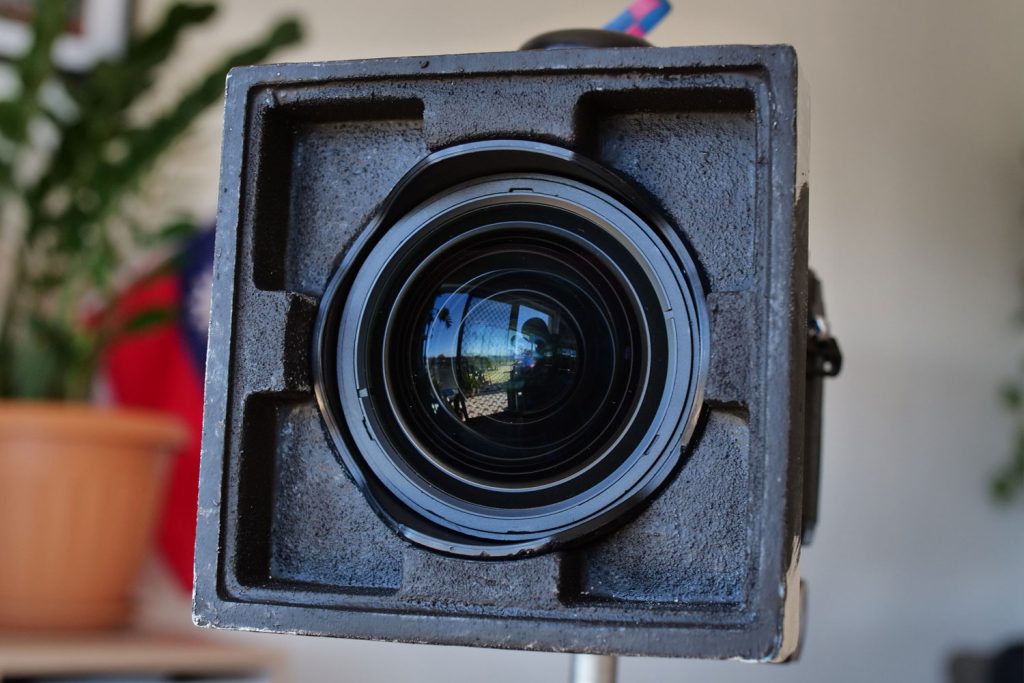
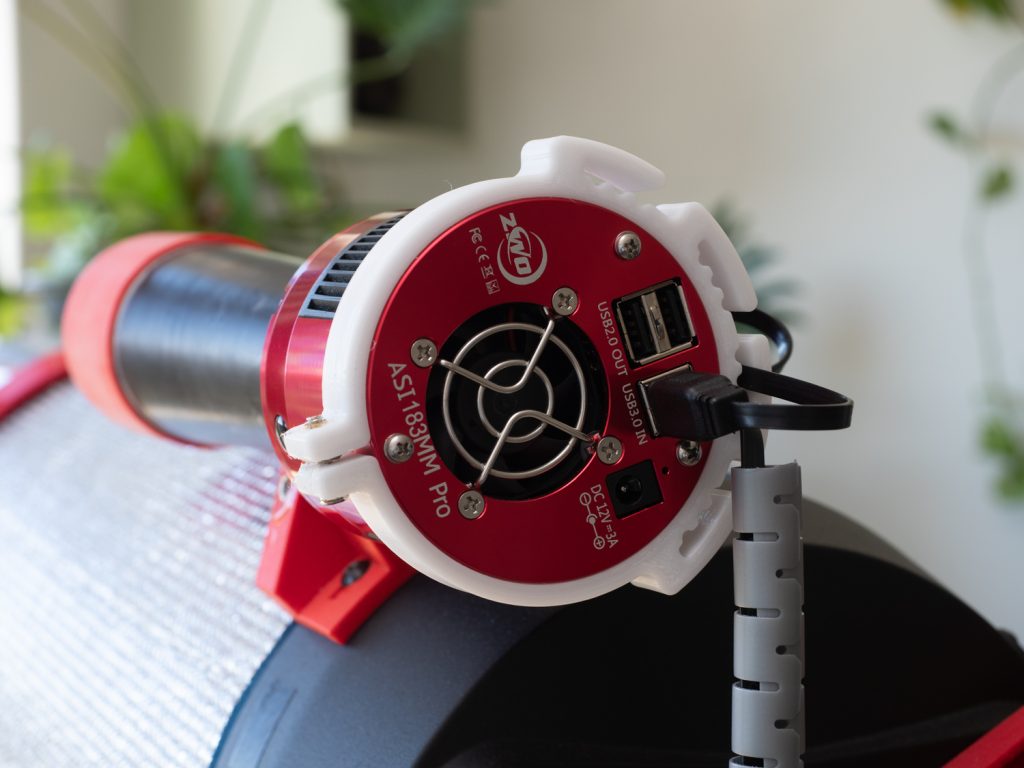
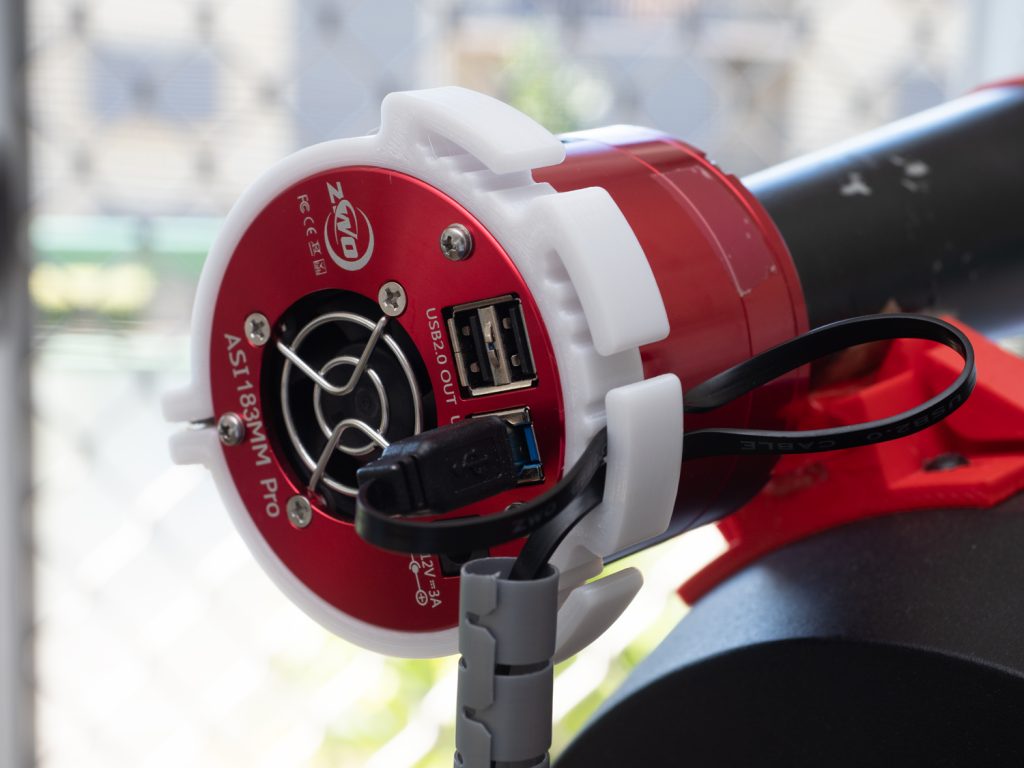
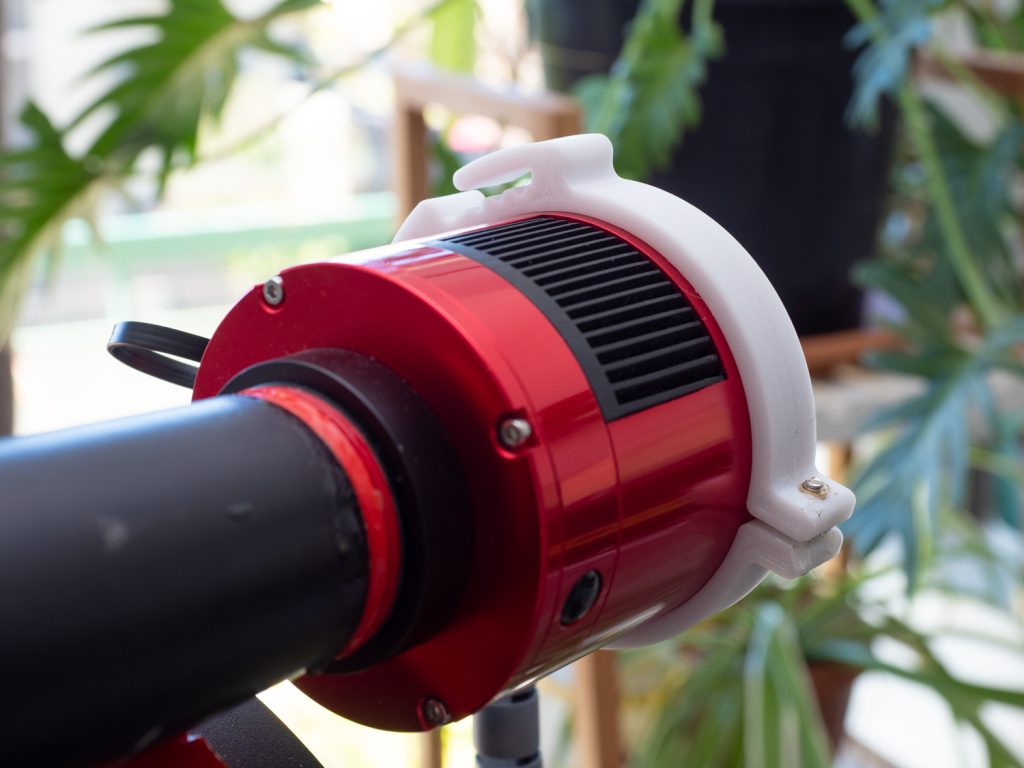
    Additional 3D printed cable guides attached below the camera to minimize diffraction spike around bright stars.

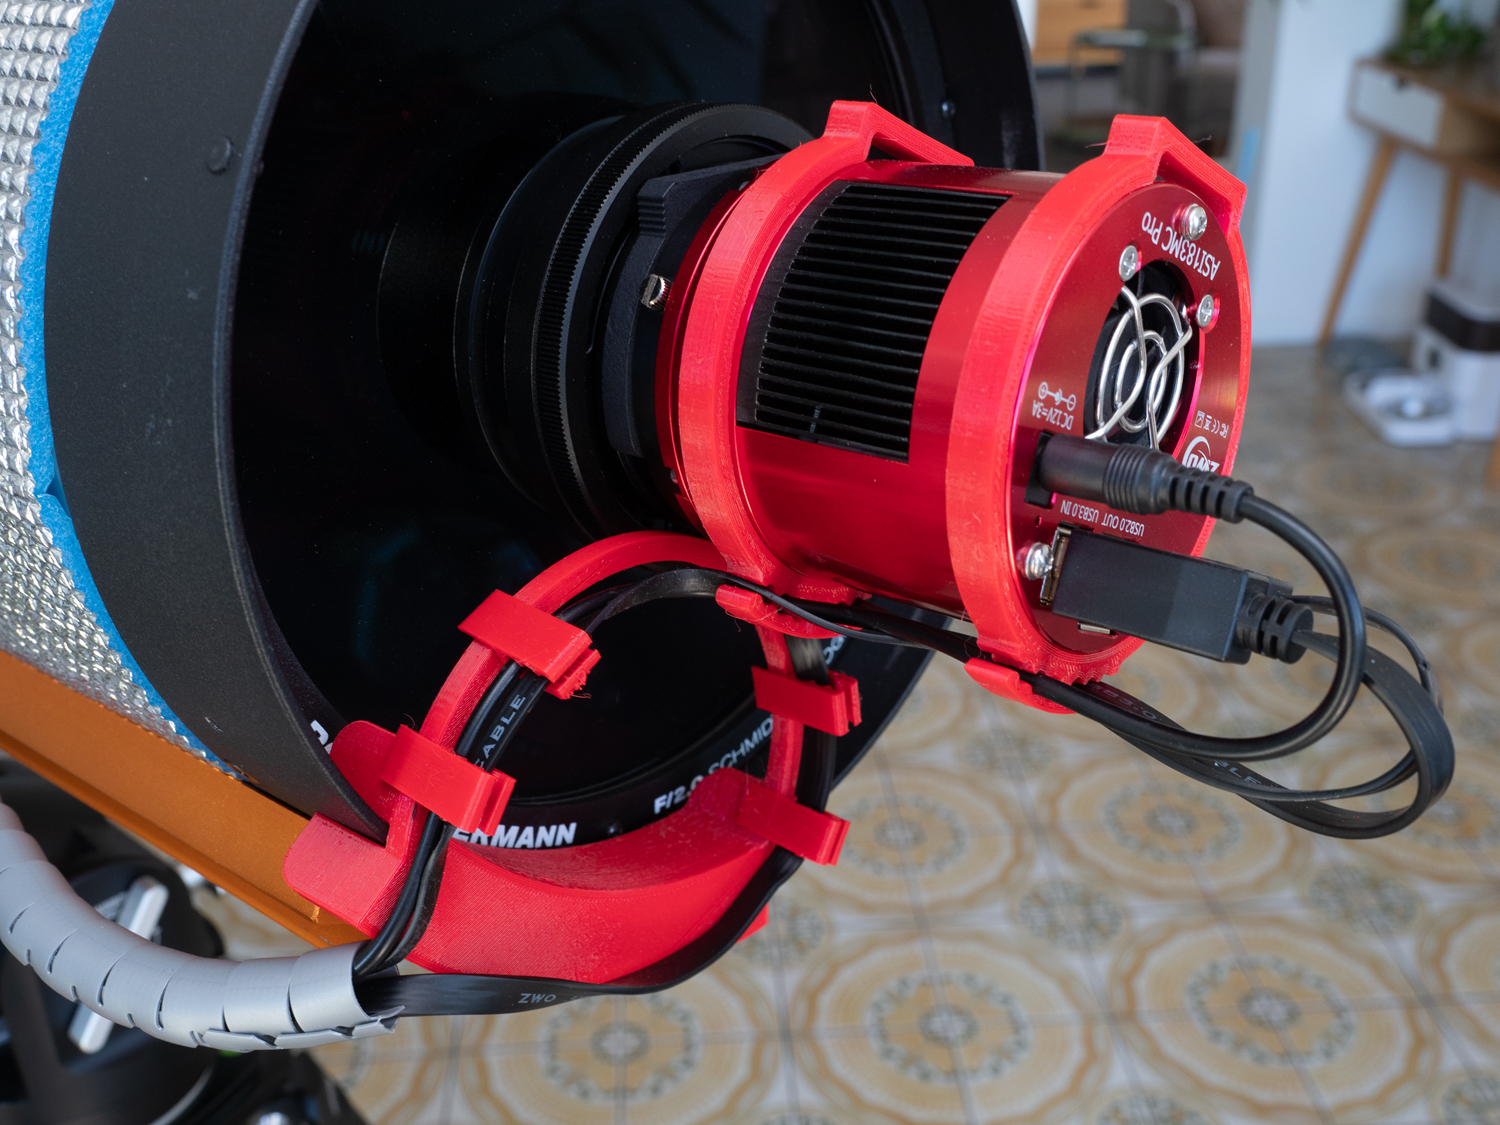
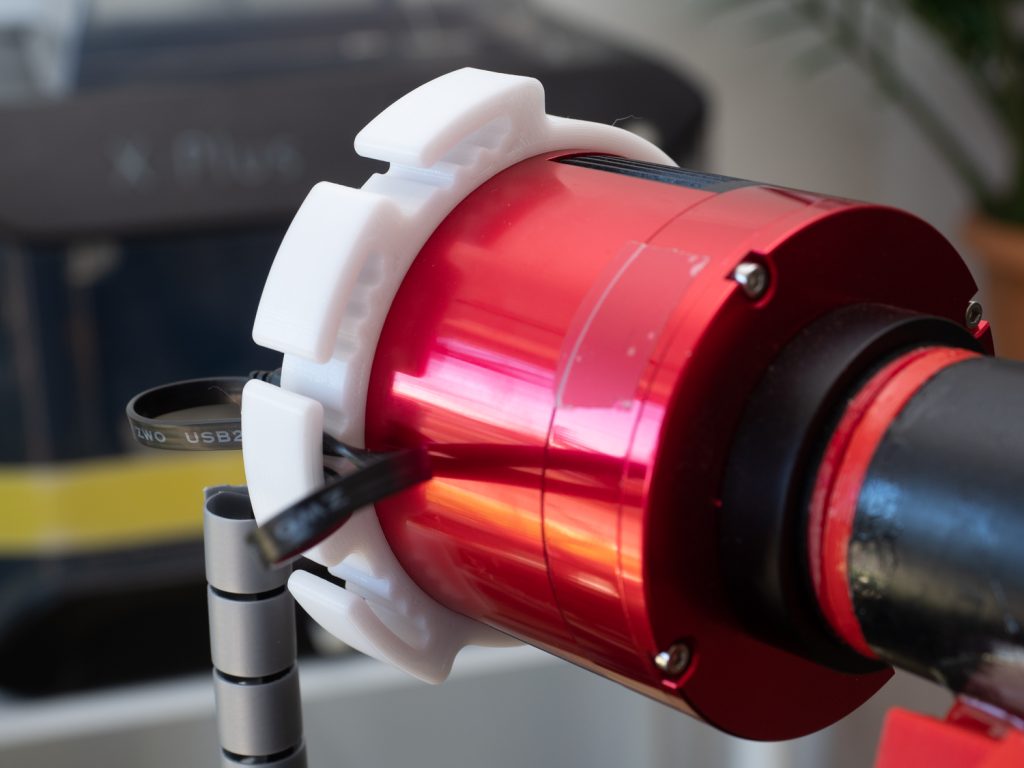
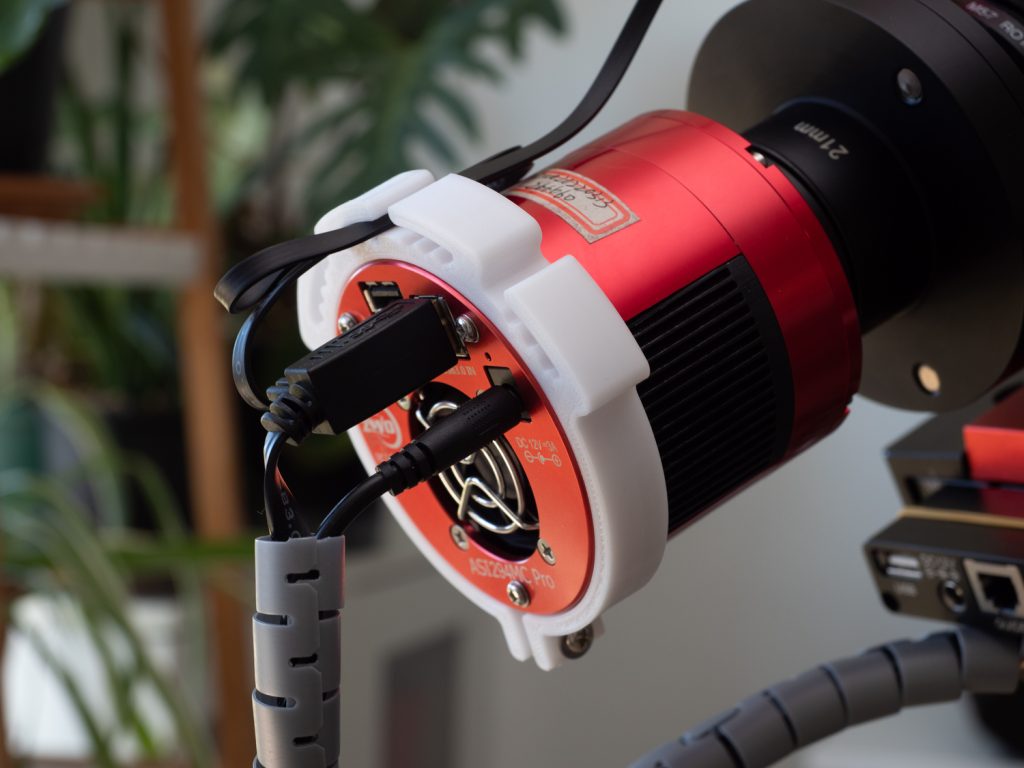
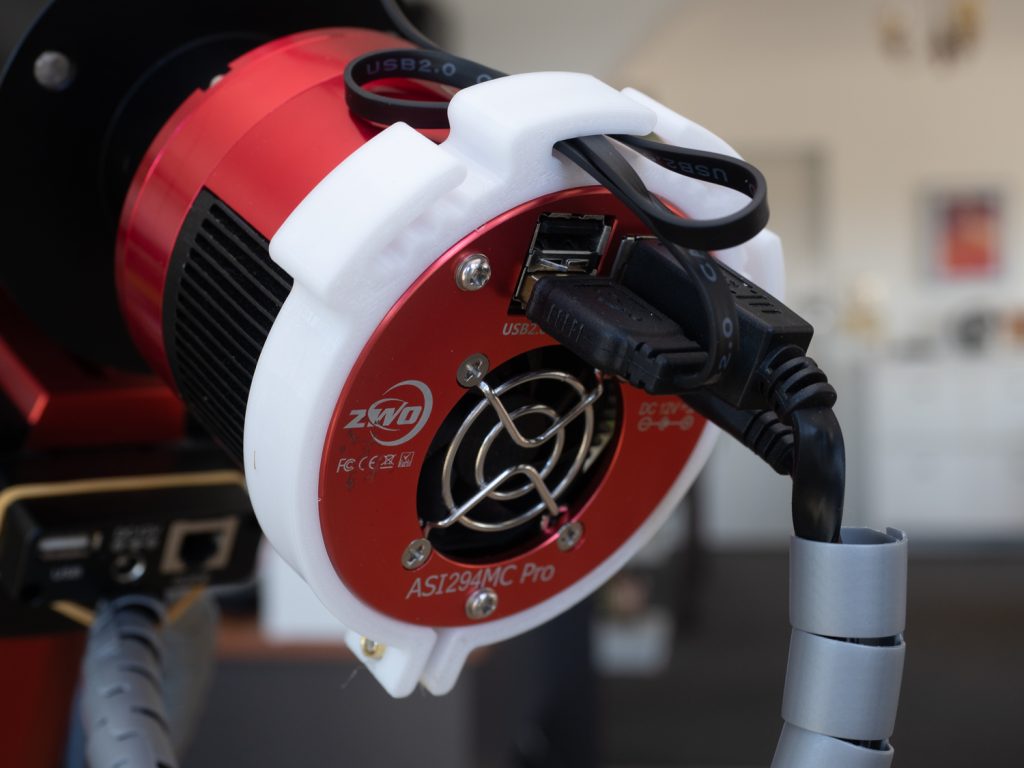
    More 3D printed cable guides on an ASI183MC and ASI294

    Stay tuned for how these parts were designed and 3D printed

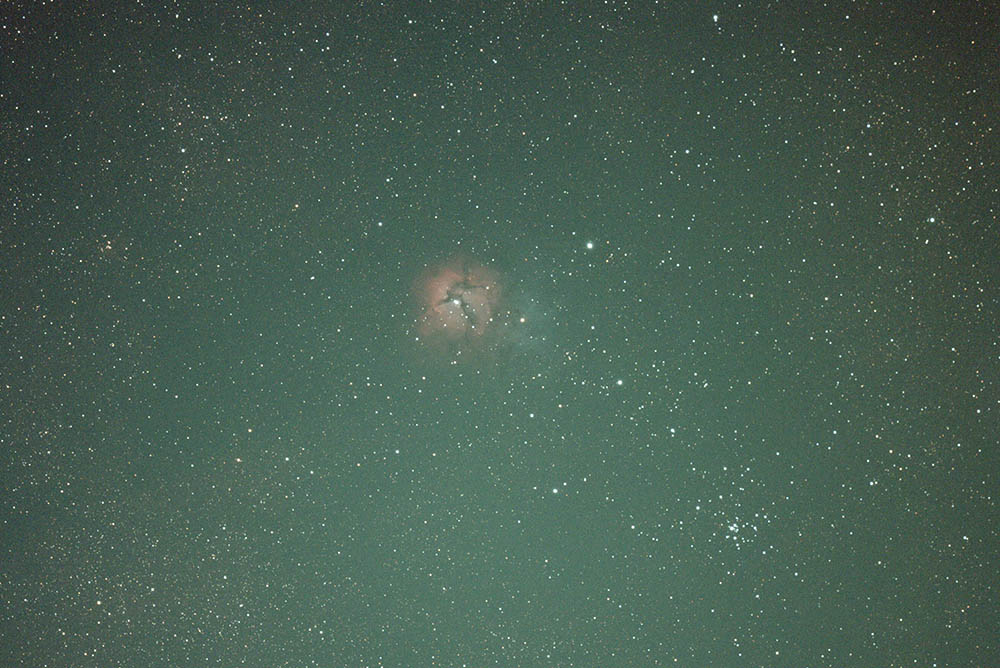
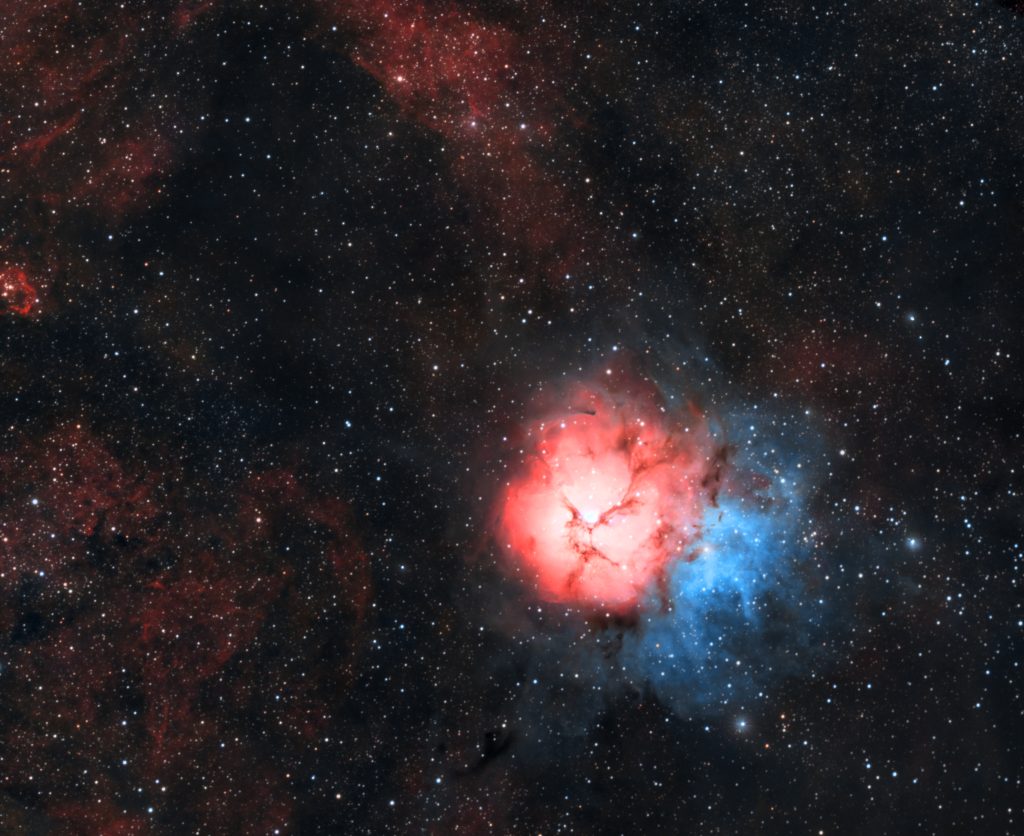
    You can see some of the astrophotography images taken with the RASA8 around South East Queensland in the gallery.

  • DIY polarizing filter holder

    DIY polarizing filter holder

    With a little bit of knowledge and a great deal of enthusiasm, a photographer these days can design and fabricate a wide range of parts and accessories for their cameras. Custom made is the way to go. This monkeys mantra is design in stages and fabricate in parts. Get one thing to work, then iterate and make it better.

    add more textabout cnc

    Just over 30 minutes later and the part is done. Read the full design and fabrication on this page.

  • RASA8 and M20, The Triffid Nebula

    RASA8 and M20, The Triffid Nebula

    Imaging from a light polluted balcony with a RASA8 telescope and ASI183MC colour camera. The RASA8 faces the eastern night sky and is able to capture 3 hours of data per night. It is paired with a Rainbow Astro RST135E strain wave mount, all controlled via a laptop running NINA and CDC (SkyChart).

    My current workflow (July 2025) is AstroPixel Processor > Graxpert > Siril.

    AstroPixel Processor creates a master calibrated “light” 32bit FIT, Graxpert to remove background gradients and noise, Siril is used for photometric colour calibration and to run StarNet,

    Below is a single 60 second “sub” exposure straight out of the camera with an automatic stretch applied viewed in ASIFitsView using right click to save a jpg file.

    The final image – 180 * 60 second sub exposures. Incredible what is possible with today’s gear and software.